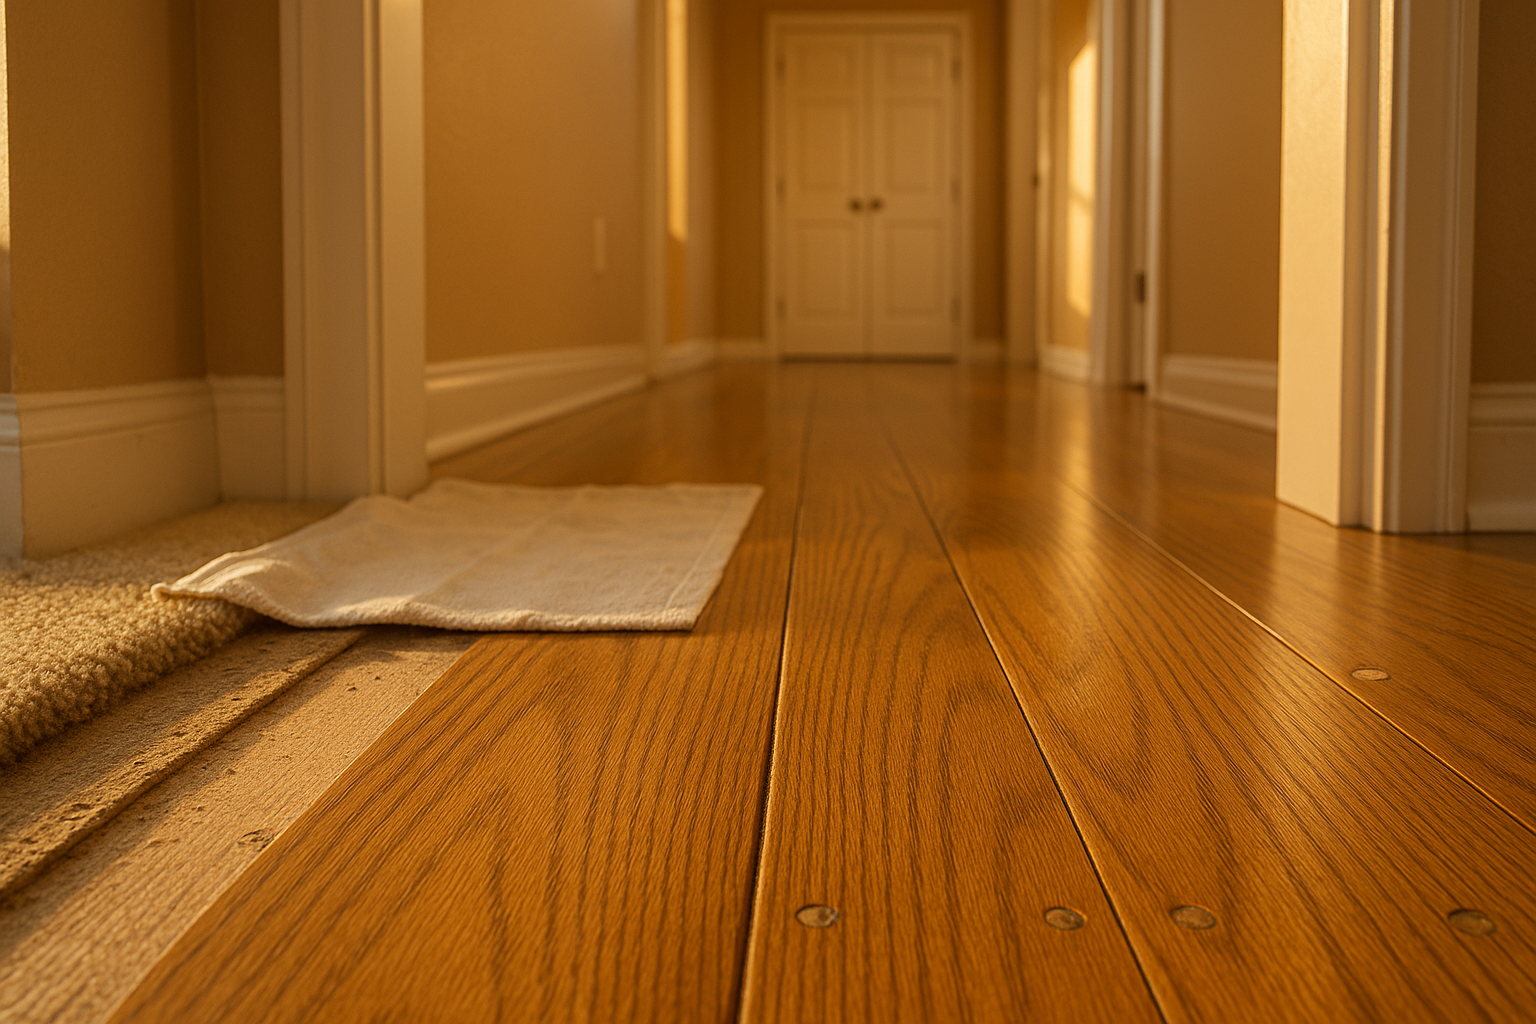
Last October, a homeowner in Meridian-Kessler called me about a cold draft near her living room window. She'd already replaced the weatherstripping, but the chill was still there. Turns out the real problem was a cracked, dried-out bead of caulk along the outside of the window frame. The gap was maybe an eighth of an inch wide, but it was letting cold air pour in and warm air leak out. A couple hours of work with the right sealant fixed it, and her heating bill went down that winter. That's what exterior caulking does—it seals the little openings that add up to big energy loss and water damage.
Why Exterior Caulking Matters in Indianapolis
We get every kind of weather here. Frigid winters where the temperature swings from below zero at night to above freezing during the day, then back again. That freeze-thaw cycle is brutal on caulk. Water sneaks into a tiny crack, freezes, expands, and makes the crack bigger. Over time, those hairline gaps become highways for water, cold air, and critters. I've seen ants, wasps, and stink bugs set up shop behind loose caulk near window trim. Once they get inside the wall, you've got a bigger problem than a draft.
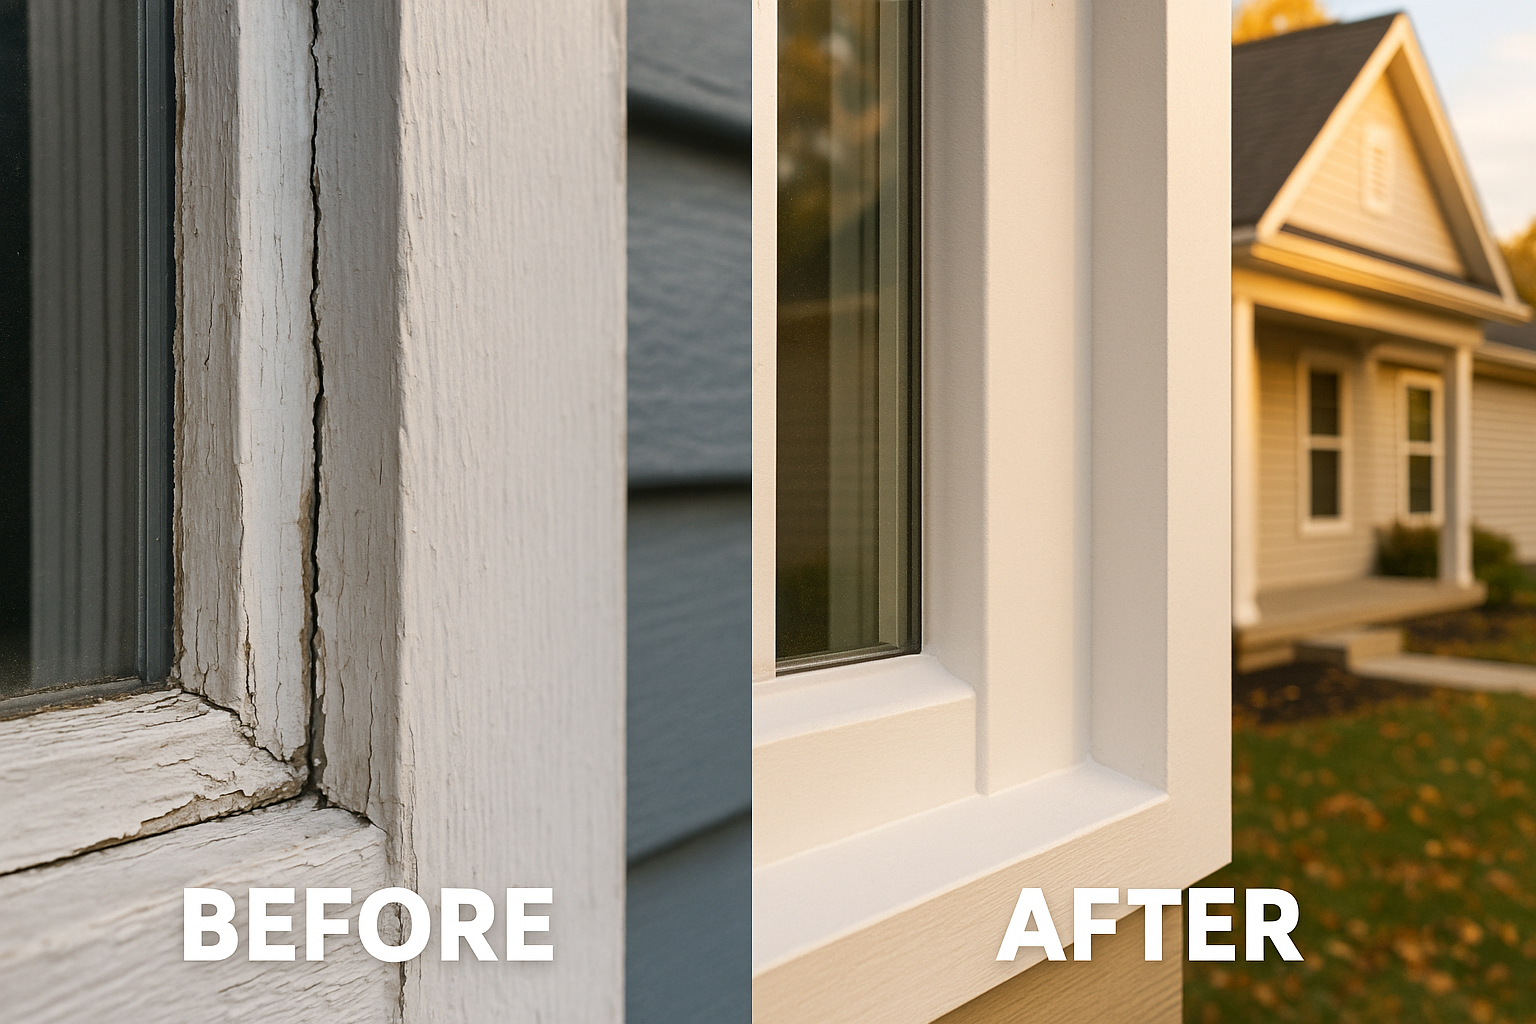
Peeling paint along exterior joints is another warning sign. When caulk fails, moisture gets behind the paint film and lifts it off. If you've ever noticed a window sill or door casing where the paint is bubbling or flaking, that's almost always a caulk failure first. Fresh caulk keeps the paint job intact and your siding dry. And here's the thing: water that gets behind siding or brick can travel down and cause rot or ceiling stains. That's a repair bill nobody wants. (Check out our guide on ceiling water damage costs if you think you might already have an issue.)
Where to Look for Failed Caulk
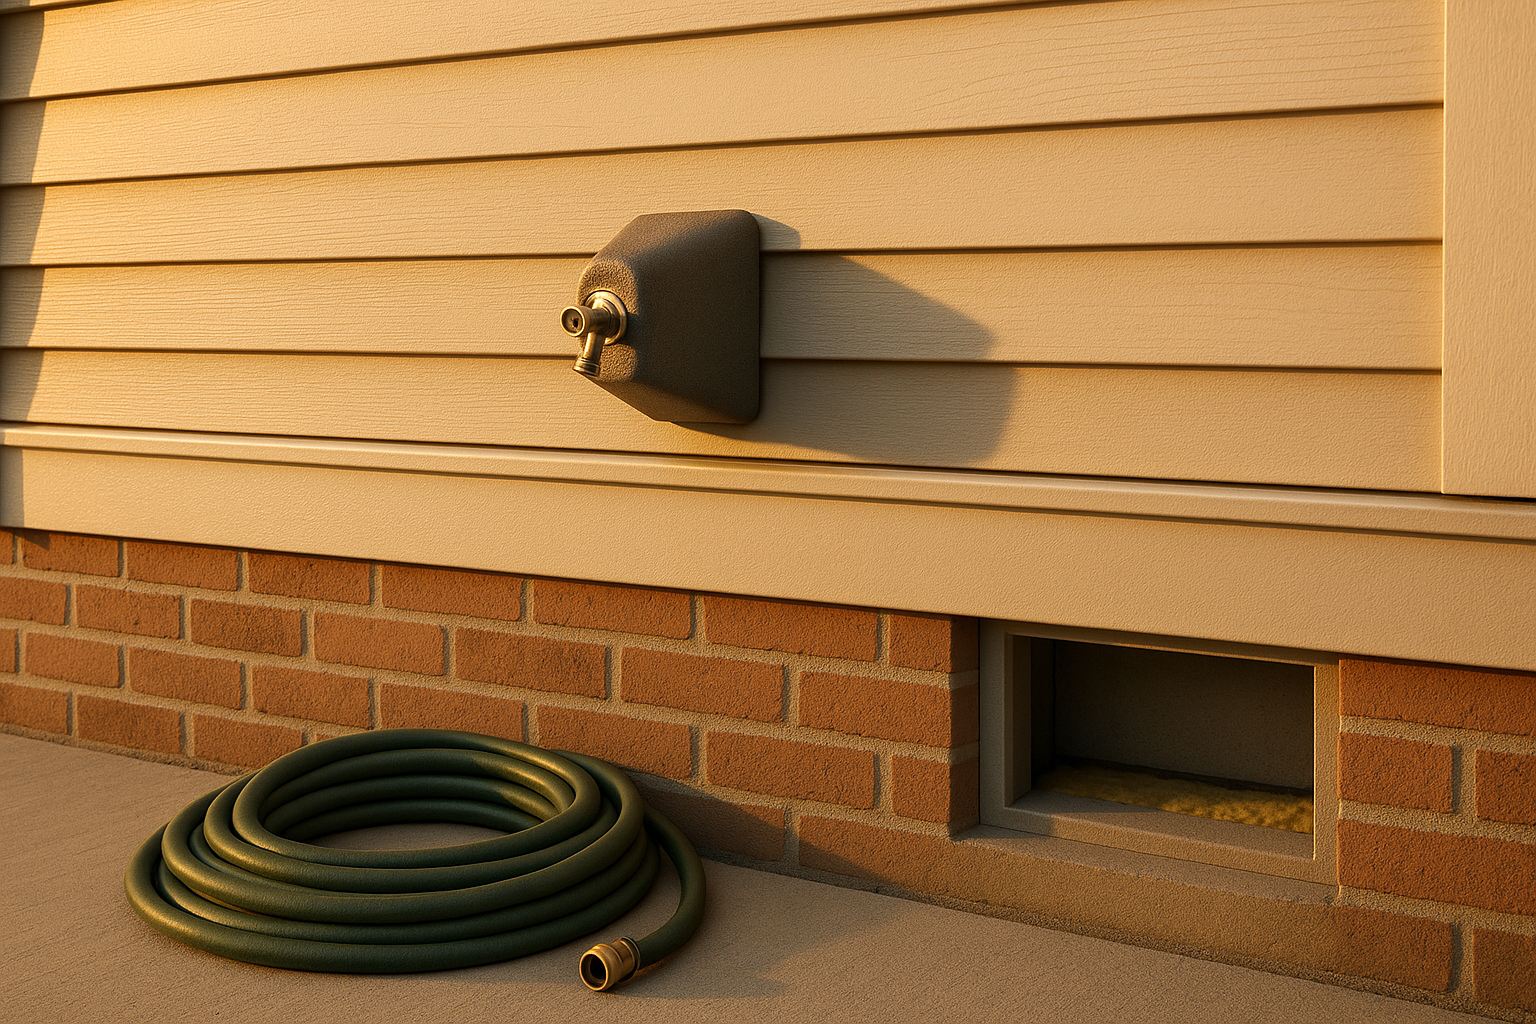
Before the first freeze hits, grab a flashlight and walk around your house. Look at the joints where different materials meet—wood trim against brick, vinyl siding butting into window frames, garage door trim against the masonry. Those are the spots that fail first. Also check around exterior faucets, electrical outlets, and any pipes or vents that pass through the wall. Caulk around the foundation sill plate (where the wood framing sits on the concrete) is often overlooked but critical.
A homeowner in Carmel found water stains on his basement wall last spring. We traced it back to a gap where the deck ledger board meets the house. The original caulk had shrunk and cracked, and every rainstorm was funneling water behind the siding. A $200 caulking job saved him from a $4,000 wood rot repair. That's the kind of math that makes exterior caulking one of the best home maintenance values in Indianapolis.
Picking the Right Caulk for Central Indiana
Not all caulk is created equal. Here's the short version: silicone sticks to almost everything and stays flexible in extreme cold, but you can't paint it. Polyurethane is paintable and tough, but it's messy and can yellow over time in direct sun. Hybrid sealants (often called SMP or modified polymer) combine the best of both—paintable, UV resistant, and able to handle the movement we see on brick and fiber cement siding.
For most exterior joints on an Indianapolis home, I recommend a high-quality hybrid. Especially if you're sealing around windows or trim that will be painted. And if you have Hardie siding, you need a sealant that can handle the expansion and contraction without losing adhesion. Cheap acrylic caulk from the big box store might last a year before it cracks. The pros use stuff that costs $12–$18 per tube, and it's worth it.
I heard a story from a contractor who used pure silicone to seal a brick-to-wood joint on a home in Fishers. It looked great at first, but after one winter, the bead had pulled away from the brick and water was getting behind it. The silicone couldn't flex enough for the brick's movement. He switched to a hybrid SMP sealant and hasn't had a callback since. That's the kind of failure you can avoid by matching the caulk to the substrate and the local climate.
Prep Work Makes the Difference
The biggest mistake I see is people slapping new caulk over old, cracked caulk. It won't stick, and it'll fail within weeks. The right way is to remove every bit of old caulk—scrape it out, cut it loose with a utility knife, and sometimes use a chemical remover for stubborn spots. Then clean the joint with rubbing alcohol or a solvent, let it dry completely, and only then apply new sealant.
If the gap is deeper than it is wide, you need a backer rod—a foam strip that fills the void so the caulk doesn't sag or crack. The ideal joint profile is width twice the depth. That gives the sealant room to stretch without tearing. After tooling the bead smooth (a wet finger works, but a pro uses a special tool for a concave finish), let it cure before it gets wet or painted.
Doing this on a second-story window from an extension ladder is not fun. A guy in Zionsville tried it last fall. He bought a tube of "no tool needed" caulk, climbed up, and ended up with a wavy, lumpy mess that he had to scrape off and redo. He told me he wished he'd just called a pro. Honestly, the ladder risk alone is enough reason to hire someone for exterior caulking above the first floor.
When to Caulk: Timing and Weather
The best time for exterior caulking in Indianapolis is early fall—right before the first hard freeze. Temps are typically in the 50s and 60s, humidity is lower, and you have a good 24–48 hours of dry weather to let the sealant cure. Spring is also good, but you have to dodge rainstorms. Avoid caulking when it's below 40°F or above 80°F, because the caulk won't cure properly. And if rain is in the forecast for the next day, hold off. Wet surfaces are caulk's worst enemy.
If you miss the fall window, you can still do a temporary seal in winter using a product rated for cold application, but it's not ideal. And while you're thinking about pre-freeze prep, check out our article on outdoor faucet freeze protection for another quick job that can save you from a burst pipe.
What a Professional Caulking Job Looks Like (and Costs)
When you call HandyPros for exterior caulking, we start with a walk-around inspection. We look at every joint, note where the caulk is failing, and take photos so you can see exactly what needs work. Then we provide a written quote—no surprises later.
The cost depends on how much linear footage you need, how high the work is (second story costs more due to ladder and safety), and how much old caulk we have to remove. Premium hybrid sealants cost more than basic acrylic, but they last longer, so you actually save money over time. Most exterior caulking jobs on a single-family home in Indianapolis run between $300 and $1,200, depending on scope. It's a small price compared to water damage repairs.
We remove all old caulk, clean and prep the joints, mask off edges for razor-sharp lines, apply the right sealant for each location, and clean up everything. If you want, we can even do a quick paint touch-up on the newly caulked trim. No mess, no ladder wobble, no guesswork.
If you've noticed drafts, peeling paint, or just want to get ahead of winter, get a professional exterior caulking inspection. It's the single most cost-effective way to protect your home from freeze-thaw damage. Request your quote here. We serve Indianapolis, Carmel, Fishers, Zionsville, Westfield, Noblesville, Greenwood, Brownsburg, Avon, Plainfield, and Lawrence.
Ready for a free estimate?
Send us the list, and we'll quote a flat price before we schedule — no pressure, no obligation.