We got a call from a homeowner in Broad Ripple last June. Her hardwood floors were cupping, and there was a weird musty smell near the hallway. She thought it was just an old house thing. Turned out her crawl space had 70% relative humidity and ground moisture pushing up through the dirt. No standing water. Just damp air and a lot of problems that could have been avoided.
Signs Your Crawl Space is Trying to Tell You Something
Most people don't think about their crawl space until something goes wrong. But the signs are usually there. Here's what to look for:
- Musty odor that won't go away. That smell is often mold or mildew growing on damp wood or insulation.
- Hardwood floors cupping or gapping. When ground moisture gets into the crawl, it changes the humidity inside your house. Wood floors react.
- High indoor humidity, even with the AC running. Your crawl is connected to your living space through gaps and ductwork.
- Rust on ducts or water heater. Condensation forms when warm, humid air hits cool metal.
- Efflorescence on foundation walls. That's a white, chalky powder. It means water is moving through the concrete.
- Insect activity. Termites and carpenter ants love damp wood.
If you see any of these, especially in older neighborhoods like Irvington or Meridian-Kessler, your crawl space probably needs a moisture barrier.
Why Indianapolis is a Moisture Magnet for Crawl Spaces
We can't fix the weather, but we can deal with it. Indianapolis has humid summers, spring storms, and clay-heavy soil that drains slowly. When you combine that with a vented crawl space, you're basically inviting moisture in. In the spring, freeze-thaw cycles push water against foundation walls. In the summer, hot, humid air goes into the cool crawl and condenses on everything. Homes in low-lying areas near the White River or Fall Creek can have a seasonal water table that's just a few feet down. That means ground moisture vapor is always trying to get into your house.
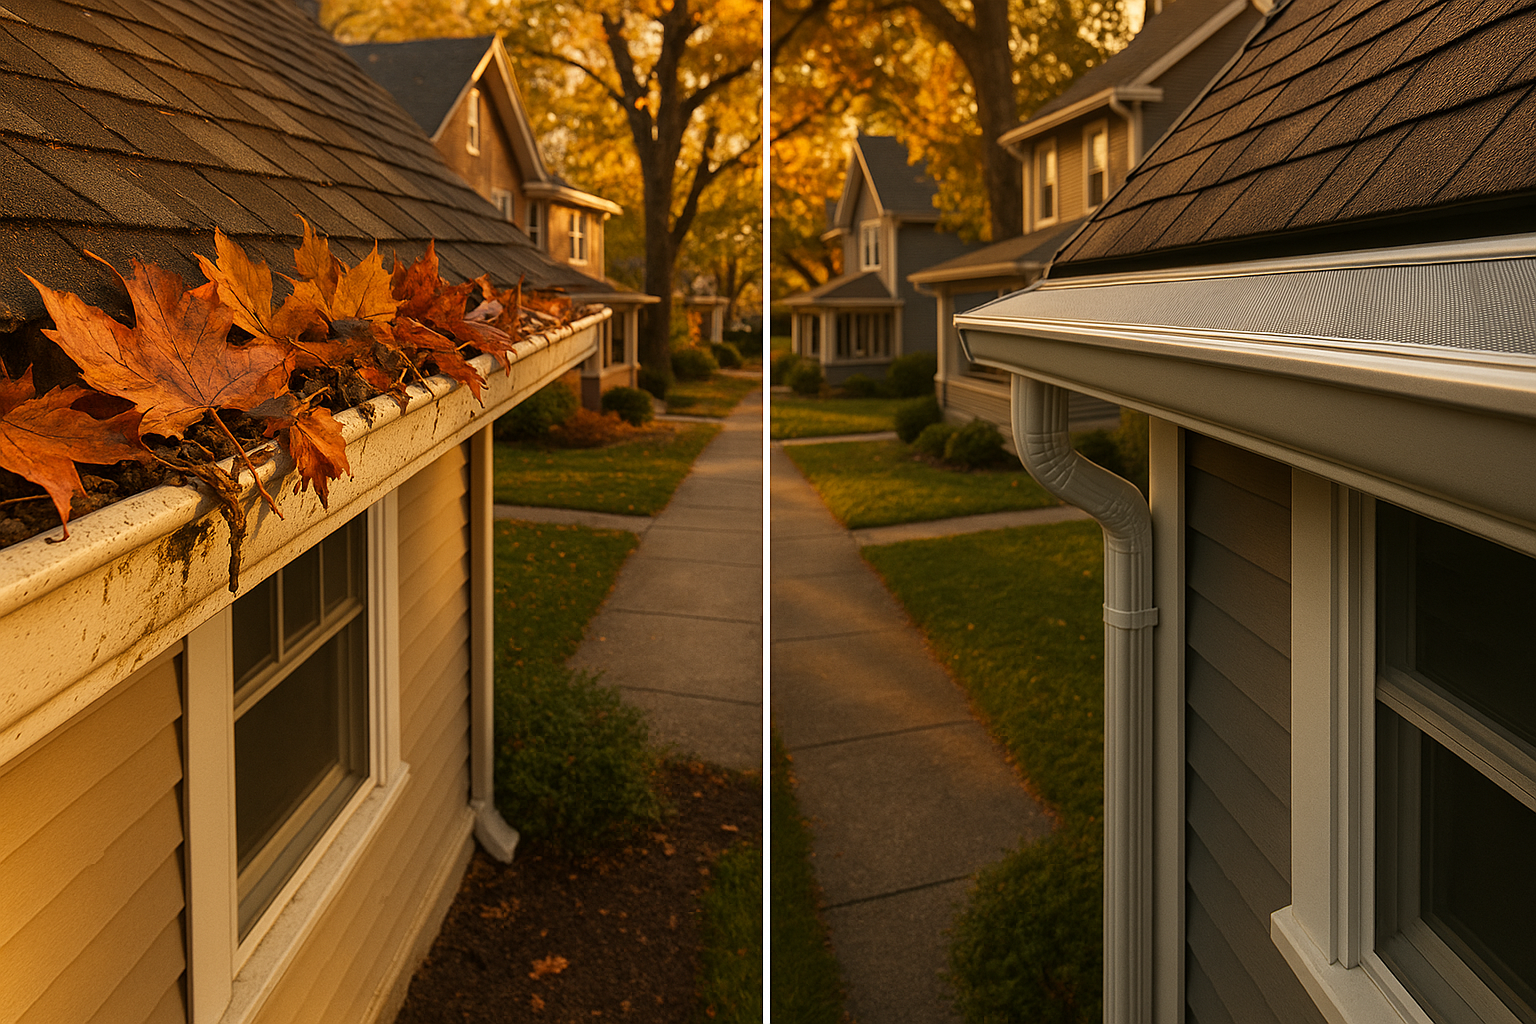
One common issue we see: gutters and downspouts that dump water right next to the foundation. A six-foot extension can make a huge difference. In neighborhoods like Speedway or Southport, we often find this easy fix alone cuts crawl space humidity. Check out our guide on window well drainage and covers if you have below-grade windows.
Moisture Barrier vs Full Encapsulation: What's the Difference?
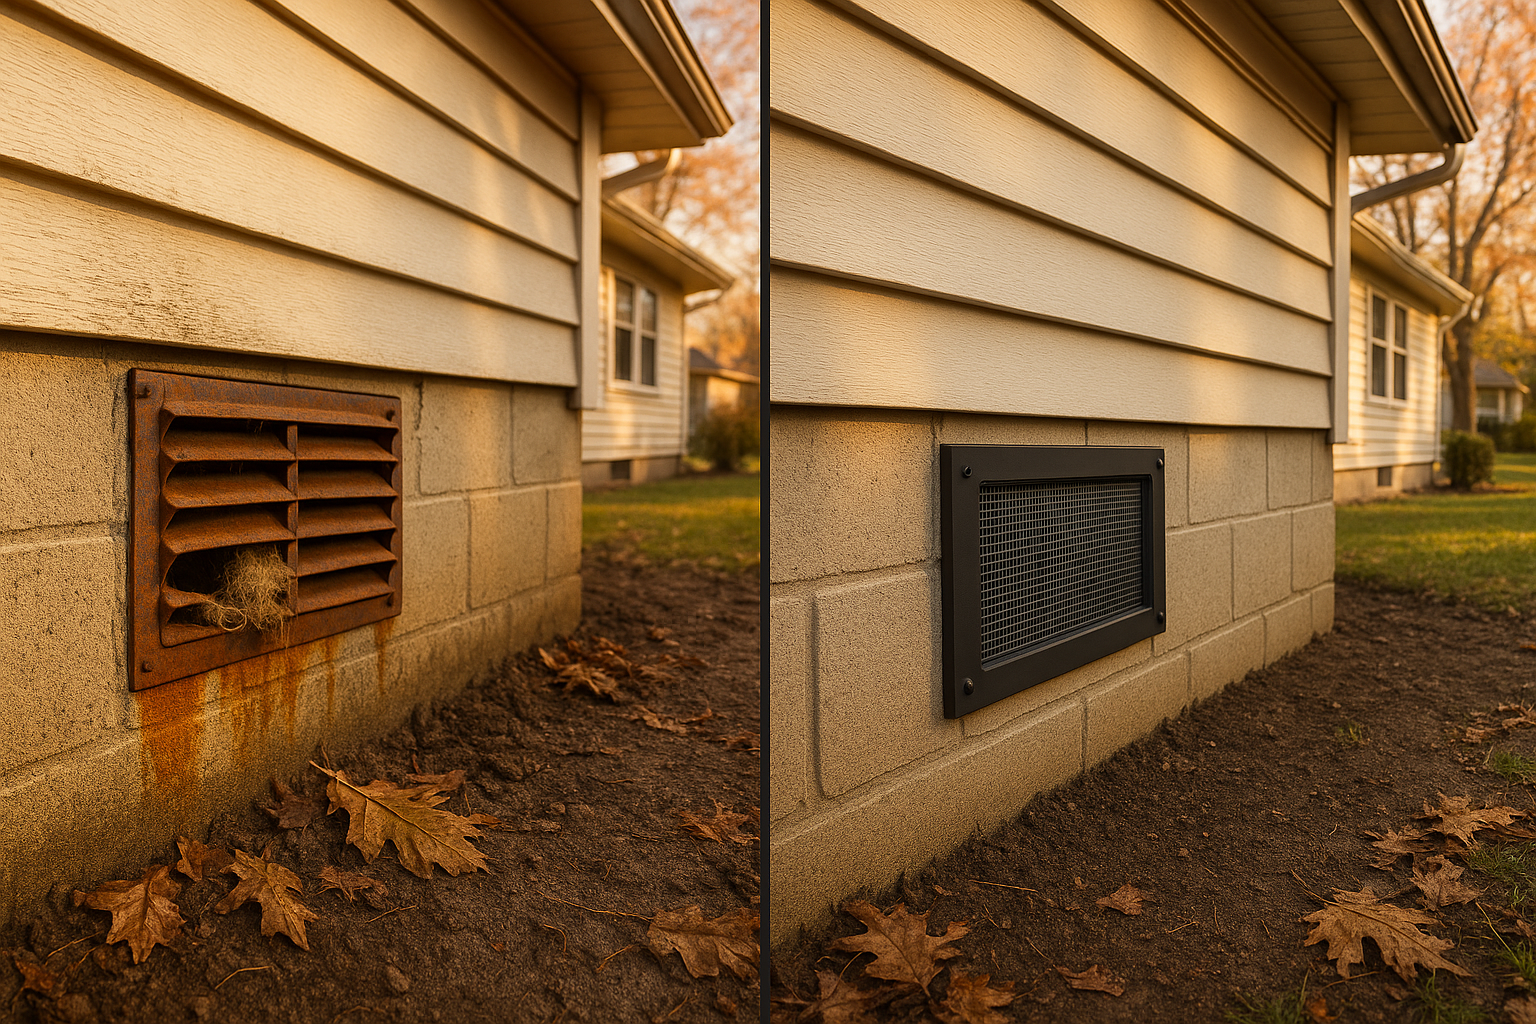
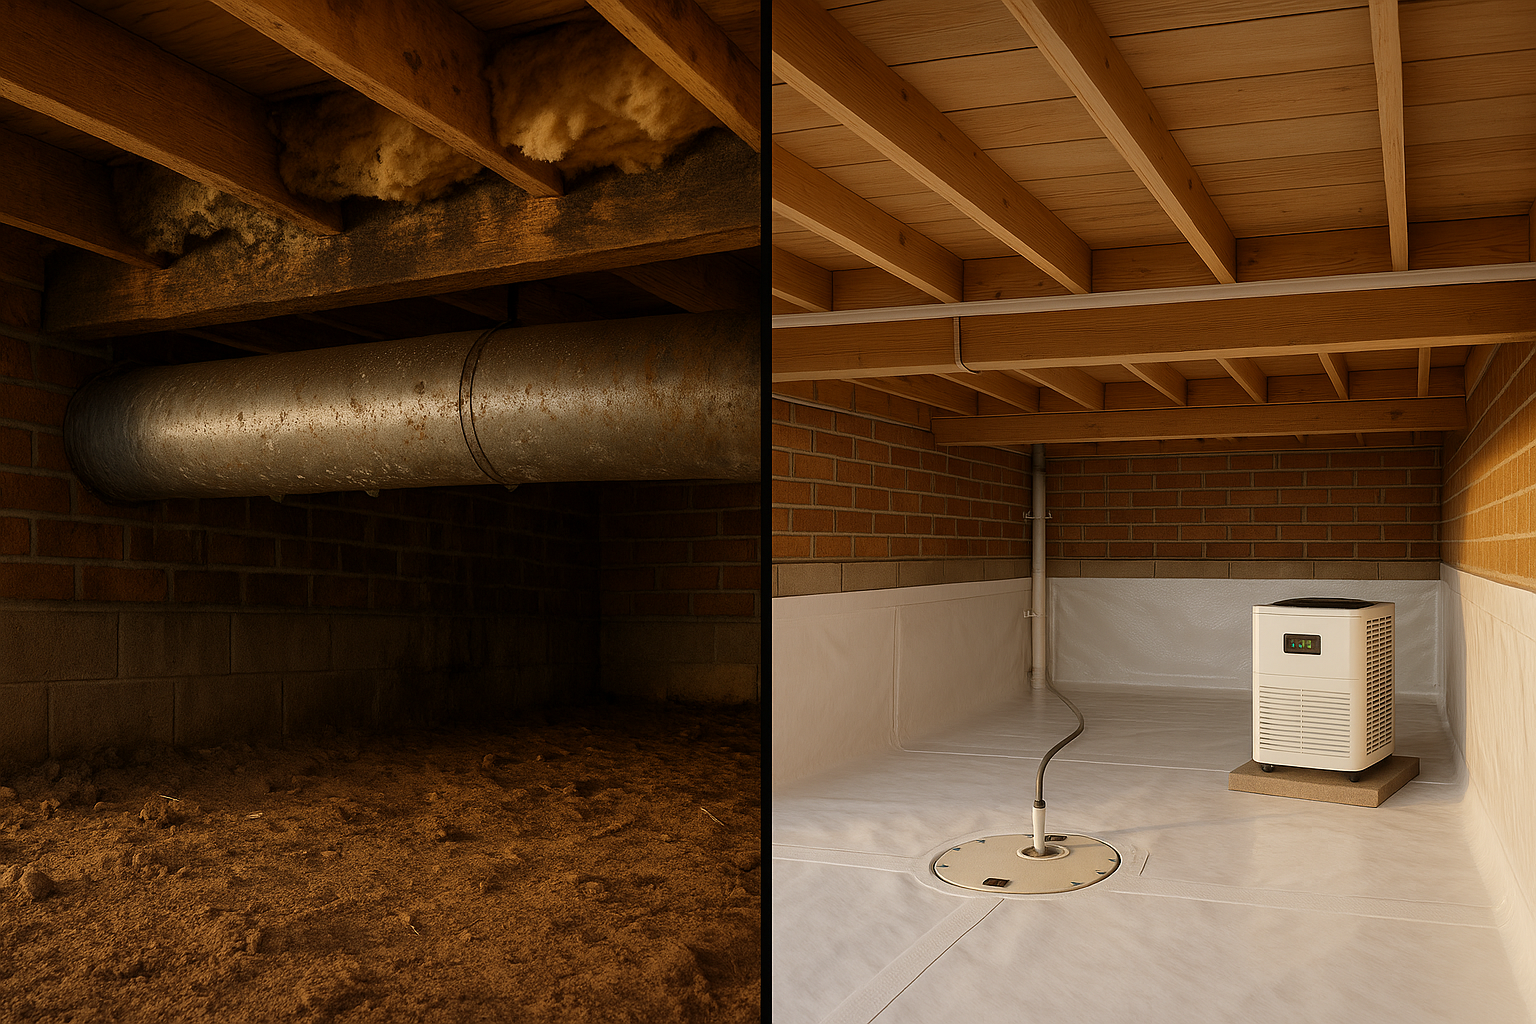
Let's clear up the terms. A crawl space moisture barrier, also called a crawl space vapor barrier, is a durable plastic sheet that covers the dirt floor. It blocks ground moisture from evaporating into the crawl air. That's the main job. For most homes, that's a big step. But if you want tighter control, you might go further with crawl space encapsulation. That's when you also cover the walls, seal the vents, wrap columns and piers, and often add a crawl space dehumidifier. Think of it like this: a moisture barrier is putting a lid on the biggest source of moisture. Encapsulation is turning your crawl into a mini conditioned space.
The thickness of the plastic matters. You'll see 6 mil, 10 mil, 12 mil, 20 mil. We never recommend 6 mil for a permanent solution. It's thin, tears easily, and doesn't hold up when someone has to crawl over it for a repair. A reinforced 10 mil or 12 mil Class I vapor retarder is a good balance. For rough crawl spaces or if you plan to store things down there, 20 mil reinforced polyethylene liner is even tougher. Indiana crawl space code often references Class I vapor retarders, so no matter what, you want something rated for continuous ground coverage. For more on when full encapsulation makes sense, read our post on crawl space vapor barrier vs full encapsulation.
The Right Way to Install a Crawl Space Moisture Barrier
This isn't just rolling out plastic. If you want it to actually work, you need proper prep and detailing.
First, fix bulk water
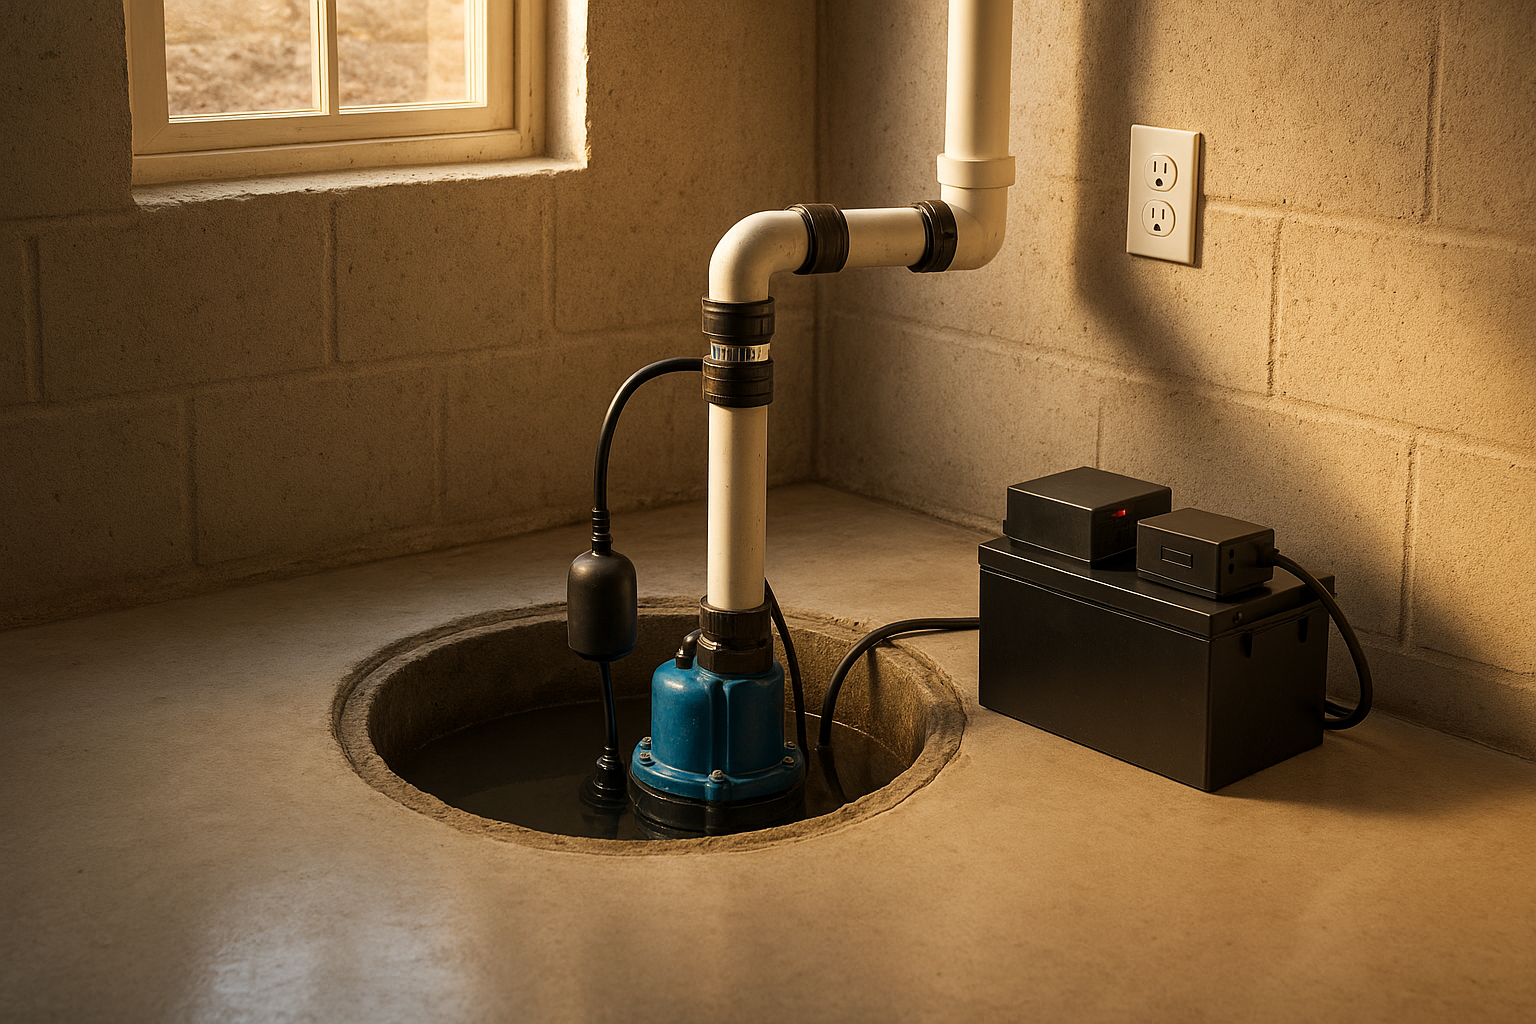
If water pools after a heavy rain, you need drainage work first—maybe a sump pump and drainage system or regrading. Laying plastic over standing water is a waste of money.
Then prep and install
Once that's handled, we smooth out the soil, remove sharp rocks, and lay the liner. Seams need to overlap 6 to 12 inches and get taped with a compatible butyl or acrylic tape. The barrier gets sealed to the foundation walls and around piers and pipes. We use mechanical fastening and termination bars where needed. If you skip these details, moisture just comes up around the edges. And don't forget to seal the sump lid, too.
Common Mistakes That Make Things Worse
We see a lot of DIY attempts that fail. The biggest one? Using thin non-reinforced film and not sealing seams. Another is ignoring exterior drainage. If your gutters pour water next to the foundation, no barrier will fix that alone. Sometimes people cover mold without remediation. That just traps spores. You need to clean or remediate first. And don't install a barrier over active leaks. It's like putting a band-aid on a broken pipe.
After the barrier is in, you might still need a crawl space dehumidifier if the RH stays above 55%. A good target is 45-55% relative humidity. We put a hygrometer in the crawl and check it yearly. If you're seeing signs of subfloor water damage, that's a separate fix—read our post on signs of subfloor water damage.
What Does It Cost? (And Is It Worth It?)
Barrier-only projects in Indianapolis usually run in the low thousands, depending on square footage, access, and thickness. Full encapsulation costs more. But think about what you're preventing: floor joist rot, mold remediation, ruined hardwood floors, and higher energy bills. A friend of ours in Carmel had to replace several floor joists because of years of unchecked moisture. That repair cost way more than a barrier ever would have.
Most barrier-only installs for an average Indy crawl take about a day once drainage is handled. We work clean, even in tight crawls, and protect your wiring and gas lines.
Get a Plan, Not Just a Quote
If you're noticing any of these signs, don't guess. We're happy to come out, check your crawl space, and lay out your options—moisture barrier, encapsulation, drainage fixes, whatever makes sense. No pressure, no upsells. Just a clear scope and a fair price. Schedule your assessment here.
Ready for a free estimate?
Send us the list, and we'll quote a flat price before we schedule — no pressure, no obligation.